What Are the Best Double Head Bolts in 2026?
Choosing the best Double Head Bolts in 2026 is not simply a matter of picking the strongest-looking fastener. Thread fit, material, coating, dimensions, and installation conditions all affect performance. A bolt suited to a dry indoor frame may be a poor choice for a damp exterior structure. Small details matter. Yet product listings can make different bolts seem almost identical, even when their specifications vary.
This guide compares options by practical criteria, including material, thread configuration, stated strength, corrosion resistance, and available sizing. It also considers the clarity of manufacturer specifications, since reliable documentation helps buyers check whether a bolt suits a particular assembly. A polished finish alone proves little. That gap is easy to overlook. You will find guidance on matching bolt dimensions to the parts being joined and checking compatibility with nuts, washers, and installation tools. For applications involving significant loads or safety-critical equipment, verify the design requirements with a qualified professional rather than relying on a product description. No single bolt fits every job. The aim is a careful, informed choice—not a confident guess based on appearance.
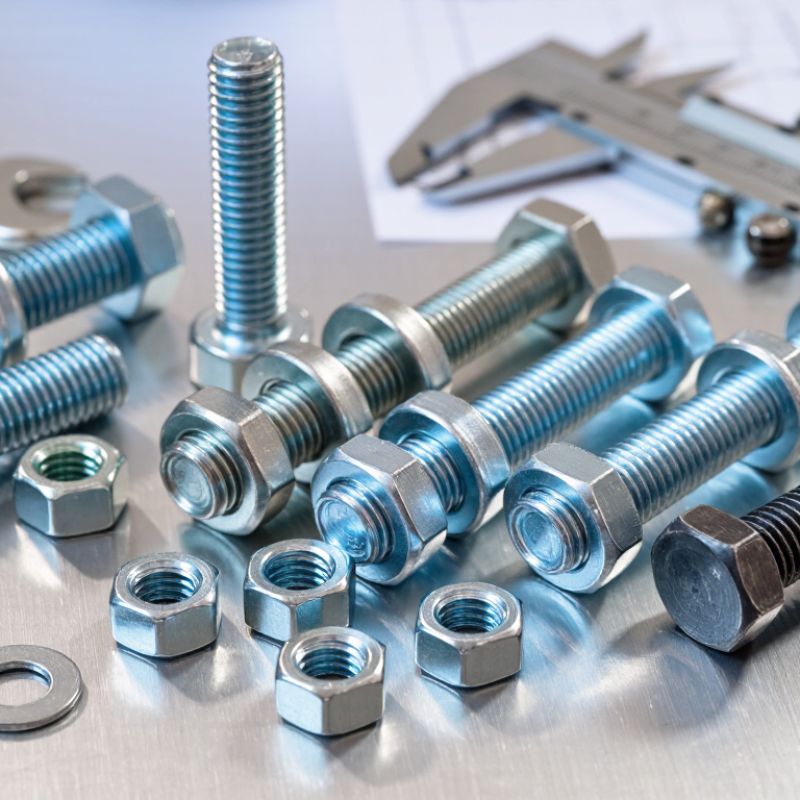
What Double-Head Bolts Are and Where They Are Used
What Are the Best Double Head Bolts in 2026?
What Double-Head Bolts Are and Where They Are Used
Double-head bolts, often called double-ended studs, have threads at both ends and a plain or threaded section between them. One end usually engages with a tapped hole; the other accepts a nut. This arrangement can make assembly easier where a conventional bolt is awkward to insert or remove. The name is a little confusing: these fasteners often have no bolt head at all.
They are commonly used in machinery, pipe flanges, engine assemblies, and equipment housings. For example, studs may project from a flange so a pipe component can be positioned over them, then secured with nuts. In maintenance work, replacing a nut can be simpler than repeatedly turning a bolt inside a threaded housing. Still, the right choice depends on the joint design, load, temperature, and exposure to moisture or chemicals. A familiar-looking stud is not automatically suitable.
Tips: Check thread size, engagement depth, material, and corrosion resistance against the equipment specifications. Keep exposed threads clean, and tighten nuts with the specified method. Do not guess torque; too much can stretch or damage the fastener. When in doubt, consult a qualified technician or engineering drawing.
Common Designs, Materials, and Strength Grades in 2026
What Are the Best Double Head Bolts in 2026?
Common Designs, Materials, and Strength Grades in 2026
Double head bolts, often called double-ended studs, have threads at both ends and a central shank. Some designs use equal thread lengths; others have a longer engagement end for a tapped hole and a shorter end for a nut. Fully threaded versions suit compact assemblies, while reduced-shank styles can help with alignment. The right design depends on the joint, not just the bolt’s appearance. Small details matter.
Carbon steel and alloy steel are common choices where high clamping strength is needed. Stainless steel, such as A2 or A4, can improve corrosion resistance, but stainless grades do not map directly to carbon-steel strength classes. For steel fasteners, classes such as 8.8, 10.9, and 12.9 indicate different mechanical properties; higher numbers are not automatically better for every assembly. Match the grade to the mating parts, load, temperature, and tightening method. I still find thread engagement easy to overlook: a strong stud can fail if too little thread sits in the base material. Check the specified dimensions and grade markings, and use consistent torque guidance. In damp or chemical environments, also consider galvanic corrosion between dissimilar metals. A little uncertainty remains when parts lack traceable specifications, so verify them before installation rather than guessing.
How to Choose the Right Double-Head Bolt for an Application
Choosing the right double-head bolt starts with the joint, not the catalog label. Confirm whether the part is a double-ended stud, then check thread diameter, pitch, engagement, and available clearance. Map the load path: tension, shear, vibration, or a combination. A bracket carrying a steady load needs different checks from a pump flange that cycles and shakes. Fit matters.
Use published strength data as a starting point, not a complete design. ISO 898-1:2013 lists a minimum tensile strength of 800 MPa for property class 8.8; for nominal diameters up to 16 mm, its nominal yield strength is 640 MPa. Class 10.9 lists 1,040 MPa tensile strength and 940 MPa nominal yield strength in that size range. Higher strength is not automatically safer; thread stripping or crushing a softer mating part can govern failure. Check material compatibility, temperature, corrosion exposure, and the required washer or nut arrangement. A practical miss is overlooking installation friction: the same torque can produce different preload with dry and lubricated threads. Specify the surface condition, follow the applicable engineering procedure, and inspect engagement on both ends. I would still verify the actual joint calculation before choosing a class.
Best Double-Head Bolt Options for Different Uses in 2026
For pressure-piping flanges, double-ended studs are a practical choice because one end stays engaged while the other accepts a nut. ASTM A193/A193M lists Grade B7 with a minimum tensile strength of 125 ksi for diameters up to 2.5 inches. That figure is a material requirement, not a complete joint rating. Confirm temperature, flange class, stud length, and nut compatibility against the project specification and ASME B16.5.
For machinery covers and equipment housings, choose studs that allow repeatable removal without wearing out the tapped base material. Check thread engagement, exposed thread length, and whether the assembly needs a plain or reduced shank. Small details matter. For corrosive service, stainless grades such as A193 B8M may be considered, but stainless threads can gall during tightening. Suitable lubrication and controlled installation help; a material label alone cannot guarantee a reliable joint.
For a selection grounded in use, match the stud material to the operating environment, then verify the full joint design. ASME PCC-1 provides guidance for assembling pressure-boundary flange joints, including controlled tightening practices. I would not treat a catalog’s strength figure as proof that a stud suits every flange. The less obvious mistake is often choosing the right material but the wrong length, nut, or tightening method.
Installation, Inspection, and Replacement Considerations
Choosing a double head bolt in 2026 is less about appearance than fit, material, and service conditions. Confirm thread diameter, pitch, overall length, and engagement on both ends against the equipment drawing. Matching threads do not guarantee matching strength. Check the specified grade, coating, temperature range, and exposure to moisture or chemicals. During installation, clean the tapped hole and inspect threads under good light; grit can distort torque readings. Follow the specified tightening method and torque value, using calibrated tools where required. Hand-start each end to reduce the risk of cross-threading. Small detail. Big consequence.
After assembly, verify that the bolt sits squarely and exposed thread length matches the design. Look for gaps, damaged thread crests, rust, fretting marks, or movement around the joint. Record findings and recheck after the initial operating cycle, then follow the equipment’s maintenance interval. Inspection frequency should reflect vibration, load changes, and the cost of failure—not convenience alone. Replace bolts with flattened, stretched, cracked, or badly corroded threads; do not force a nut onto damaged threads. Use a replacement with the specified dimensions and strength class, and investigate why the old fastener failed. That step is easy to skip. It shouldn’t be. Field conditions are messy, and visual checks cannot reveal every internal flaw. When doubt remains, consult qualified maintenance personnel or the equipment documentation.
What Are the Best Double Head Bolts in 2026? — Installation, Inspection, and Replacement Considerations
How to read this chart: The values show nominal tensile strength associated with common ISO metric property classes for steel fasteners, including studs. A higher class is not automatically the best choice: select a class that meets the design specification and suits the connected materials and service conditions. Install to the specified procedure, inspect for damage, corrosion, looseness, or thread wear, and replace fasteners when required by the applicable specification or inspection findings.