
How to Set Up a TrueNAS Server?
Setting up a True Nas Server is not just a matter of connecting disks and clicking through an installer. It means choosing hardware, planning storage, and deciding how your files will be protected when a drive fails. A quiet home server can hold family photos, work backups, and media libraries, so small choices matter. Start with a clear purpose. Then match memory, network speed, and drive capacity to that workload.
Longtime FreeNAS and TrueNAS leader Kris Moore is a useful industry reference. A concise paraphrase of the storage-planning principle associated with his work—not a verbatim quotation—is: “Design for recovery, not just capacity.” That idea guides this outline: prepare the hardware, create installation media, install TrueNAS, configure storage and shares, then test access and backups. Keep the first setup simple. Complicated permissions can become difficult to troubleshoot, especially when several devices connect at once. A checklist helps, but it cannot replace careful testing.
Expect a few imperfect decisions. A storage layout that looks efficient today may feel restrictive after your files grow. This guide will explain the trade-offs without assuming every reader has a rack, enterprise drives, or a spare network switch. You will see which settings deserve attention, where caution is sensible, and how to verify that a backup can actually be restored. That last step is easy to postpone. Don’t.
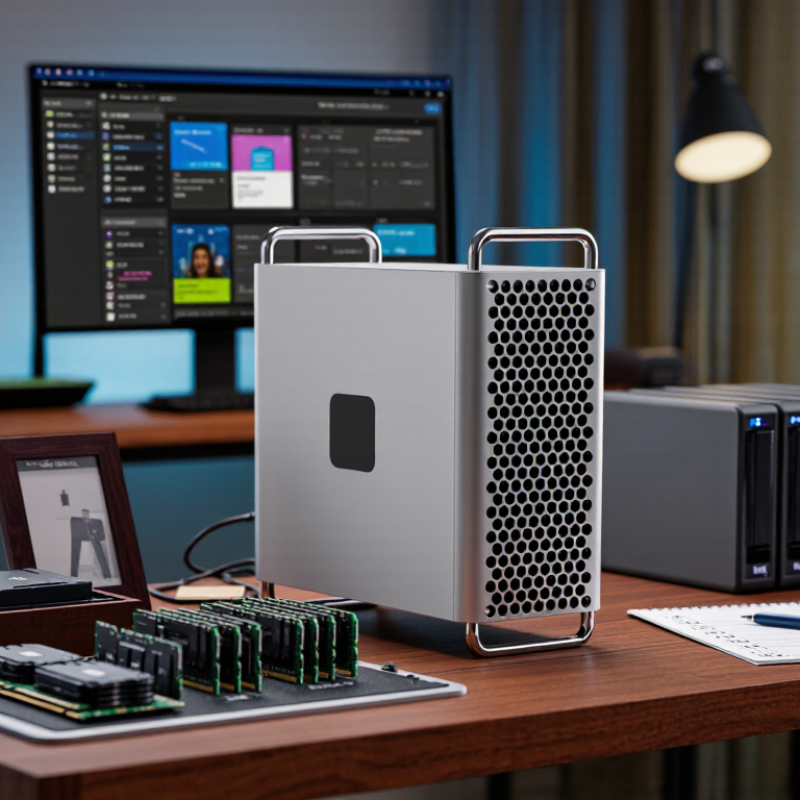
Plan the Hardware and Prepare the TrueNAS Installation Media
Before downloading anything, decide what the server must protect and how many drives it needs. A quiet home archive has different needs from a busy media or work server. Choose a supported 64-bit system, then check the current release’s hardware guidance; requirements can change. Leave memory headroom for services and file-system checks. Use separate devices for the operating system and data pool, so reinstalling does not casually endanger stored files. A wired network connection and reliable power matter, too. Extra capacity costs money, but running out mid-growth is worse. Still, buying far more hardware than the workload needs can be its own mistake.
Prepare installation media on a separate computer. Download the installation image from the project’s official source, and verify its checksum when provided. Write it to a USB drive using a disk-imaging utility, not by copying the file onto the drive. The selected USB device will be erased. Double-check its name and size before starting. Keep a note of which disk is intended for installation; confusing it with a storage disk is an easy, expensive error. Test the media by booting the server and confirming that the installer appears, then shut down before making changes. Keep it simple. Record your hardware choices and uncertain assumptions. Those notes may reveal a weak plan before the first drive is formatted.
| How to Set Up a TrueNAS Server? - Plan the Hardware and Prepare the TrueNAS Installation Media | |||
|---|---|---|---|
| Planning Area | What to Plan | Practical Guidance | Before Installation |
| Workload | Define how the server will be used. | Estimate storage for file sharing, backups, media, virtual machines, or applications. Different workloads require different amounts of memory, processing power, and storage capacity. | List the intended services and estimate current and future storage needs. |
| Processor and platform | Choose a compatible 64-bit system with enough processing capacity. | A basic file server may need less computing power than a system running multiple applications or virtual machines. Check that the platform supports the features required by your planned workload. | Confirm the system can boot from removable installation media and has the required network and storage connections. |
| Memory | Allow sufficient memory for the operating system and services. | Eight gigabytes is a commonly cited baseline for a simple system; additional memory can benefit larger pools and memory-intensive workloads. Actual needs depend on the configuration and services used. | Check the motherboard’s memory capacity and whether the installed modules are supported. |
| Data drives | Plan the number, capacity, and layout of storage drives. | Redundant layouts require more than one drive and provide less usable capacity than the combined raw drive capacity. For example, a two-drive mirror stores a copy of data on each drive; RAIDZ2 requires at least four drives. | Choose drives with adequate capacity, and remember that redundancy is not a substitute for a separate backup. |
| Boot device | Provide a separate device for the operating system. | Use a dedicated boot device that meets the requirements of the TrueNAS release being installed. Keep the data drives separate so the installer cannot overwrite data intended for the storage pool. | Identify the boot device clearly before starting the installation. |
| Network connection | Plan reliable access to the local network. | A wired Ethernet connection is generally suitable for server setup and ongoing file access. Confirm that the network has available connectivity and a suitable address configuration. | Connect the network cable and note the router or network settings needed for access. |
| Power and cooling | Allow for continuous operation and drive cooling. | Choose a power supply with sufficient capacity for the system and installed drives. Ensure the case provides airflow around the drives and that cables do not obstruct cooling. | Check drive connections, airflow, and power connections before closing the case. |
| Installation image | Obtain the installer image for the intended release. | Download the installation image from the project’s official download source and verify its checksum when one is provided. | Keep the image file accessible on a computer used to prepare the installation media. |
| Installation media | Prepare a removable USB drive for the installer. | Use a USB drive with enough capacity for the downloaded image. Writing the image will erase the contents of that USB drive, so copy any files you need elsewhere first. | Confirm the correct USB drive is selected before writing the image. |
| Installation target | Distinguish the installer media, boot device, and data drives. | The USB installer is used to start setup; the selected boot device receives the operating system; the data drives are reserved for storage configuration. Selecting the wrong target can erase existing data. | Back up important data and double-check every disk selection during installation. |