
10 Tips for Choosing a Polymer Injection Molding Machine
Choosing a polymer injection molding machine is not simply a matter of comparing clamp force, price, or brand reputation. The right decision begins with the parts you actually produce. Resin type, shot weight, mold dimensions, cycle time, tolerances, and expected production volume should guide every specification. A machine that looks powerful on paper may still deliver unstable parts on the factory floor.
John Bozzelli, a respected injection molding consultant and process specialist, has often emphasized, “You cannot improve what you do not measure.” That principle belongs at the center of machine selection. Examine injection pressure, repeatability, screw design, temperature control, energy use, and maintenance records. Ask suppliers for practical data, not attractive promises. Watch the machine run with a similar material and mold, if possible.
Small details matter. A responsive control screen can shorten setup time. Stable barrel heating can reduce color variation. Accurate pressure feedback can reveal problems before scrap piles beside the press. Safety systems and operator access also deserve serious attention. They are easy to overlook.
No machine is perfect. I have seen buyers focus too heavily on speed and underestimate training, cooling capacity, or service support. That mistake can become expensive. The following ten tips provide a more balanced way to evaluate a polymer injection molding machine, while leaving room for one uncomfortable question: does this machine fit today’s production needs, or only an imagined future?
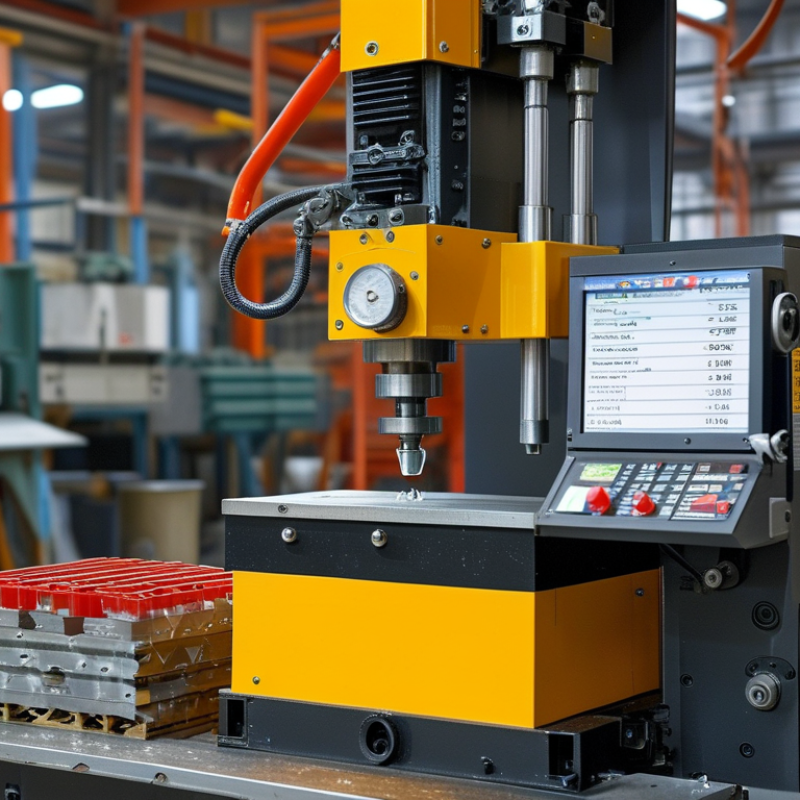
Define the Production Requirements for Your Polymer Parts
Before choosing a polymer injection molding machine, define the part’s production demands clearly. Record the polymer grade, part weight, dimensions, wall thickness, and required tolerances. A small housing may need only 25 grams of material, but its thin ribs can require high injection speed. Note the number of cavities, too. More cavities increase output, yet they also demand balanced filling and stronger process control.
Estimate the required cycle time from real production conditions. Include cooling, mold opening, ejection, and operator handling. Then calculate the target annual volume and expected peak demand. A machine should not run at maximum capacity every day. Leave practical reserve for maintenance and seasonal orders. Our early estimates often ignored startup waste. That mistake affected material planning and delivery dates. It is worth measuring several trial cycles instead of trusting a brochure.
Match clamping force to projected cavity pressure and part area. Check injection pressure, shot size, screw diameter, and plasticizing capacity against the selected polymer. Engineering materials may need controlled drying and higher barrel temperatures. Confirm whether the machine can maintain stable melt temperature throughout a long shift. Also define automation needs, mold dimensions, and available floor space. A production requirement sheet should include quality checks, energy limits, and operator skill levels. It may look incomplete at first. Review it with mold designers, process technicians, and quality staff before requesting machine quotations.
10 Tips for Choosing a Polymer Injection Molding Machine - Define the Production Requirements for Your Polymer Parts
| Tip | Production Requirement | Key Data to Define | Typical Reference Range | Why It Matters | Selection Check |
|---|---|---|---|---|---|
| 1 | Define the polymer and grade | Material family, glass-fiber content, recycled content, drying requirements, and melt-temperature window | Commodity thermoplastics: approximately 180–280°C melt temperature; engineering polymers may require approximately 260–380°C | Material viscosity, thermal sensitivity, and reinforcement level influence the required barrel, screw, heater, and wear-resistant components. | Match material data sheet |
| 2 | Calculate the total shot size | Part weight, runner weight, number of cavities, and process cushion | Recommended shot size: about 25–75% of the machine's rated shot capacity | Operating near the middle of the available capacity generally supports more stable residence time, metering, and process control. | Verify shot capacity |
| 3 | Determine the required clamping force | Projected molded area, number of cavities, injection pressure, and safety factor | Common preliminary estimate: 2–5 tons of clamping force per square inch of projected area, depending on material and geometry | Insufficient force can cause flash, while excessive force may increase energy use, mold stress, and machine cost. | Confirm by mold trial |
| 4 | Check mold dimensions and fit | Mold length, width, height, mold weight, locating-ring size, and sprue-interface dimensions | Mold height must remain within the machine's minimum and maximum mold-height range | The mold must fit safely between the platens and align correctly with the nozzle, ejector system, and tie-bar spacing. | Confirm platen layout |
| 5 | Match injection rate to part geometry | Required fill time, wall thickness, flow length, gate type, and polymer sensitivity to shear | Thin-wall parts may require high injection speeds; thick sections generally allow slower filling | Correct injection capacity helps prevent short shots, weld-line weakness, excessive shear heating, and visible flow marks. | Review filling analysis |
| 6 | Evaluate screw design and plasticizing capacity | Screw diameter, length-to-diameter ratio, compression profile, non-return valve, and recovery time | General-purpose screws commonly use an L/D ratio of approximately 18:1–24:1; reinforced materials may need specialized designs | The screw must melt and mix the polymer consistently without excessive residence time or material degradation. | Check material compatibility |
| 7 | Size the injection unit for shot consistency | Injection pressure, specific injection rate, screw stroke, and decompression capability | Select sufficient pressure for the material and flow path, while avoiding unnecessary oversizing | A properly sized injection unit improves repeatability and reduces the risk of unstable cushions, drooling, or incomplete filling. | Compare process window |
| 8 | Define cycle-time and output targets | Cooling time, mold-open time, filling time, screw recovery time, annual volume, and operating hours | Cycle time depends strongly on wall thickness; cooling often represents the largest portion of the cycle | Output calculations help determine machine utilization, automation needs, and whether one or multiple cavities are economical. | Calculate parts per hour |
| 9 | Specify ejection and automation requirements | Ejector stroke, ejector force, core-pull circuits, robot clearance, mold-protection settings, and take-out method | Ejection capacity must exceed the mold's required force and stroke with an appropriate operating margin | Correct ejection and automation interfaces reduce part damage, cycle interruptions, and operator exposure to moving equipment. | Confirm interface details |
| 10 | Compare energy, control, and maintenance needs | Drive type, installed power, process monitoring, data logging, oil or water circuits, and spare-part access | Use actual production data to compare energy consumption per kilogram or per molded part | Efficient controls, stable temperature regulation, and accessible maintenance points can reduce operating cost and improve uptime. | Assess total cost |
Related Posts
-
Why Choose a Small Injection Machine for Your Manufacturing Needs?
-
Top Plastic Injection Molding Machine Manufacturers?
-
Global Quality Revolution How Chinese Moulding Plastic Machines Capture International Markets
-
Exploring Innovative Alternatives to Plastic Injection Machines for Modern Manufacturing
-

Addressing Common Challenges with Small Plastic Molding Machines in Production
-

How to Enhance Production Efficiency with Plastic Injection Machines for Optimal ROI